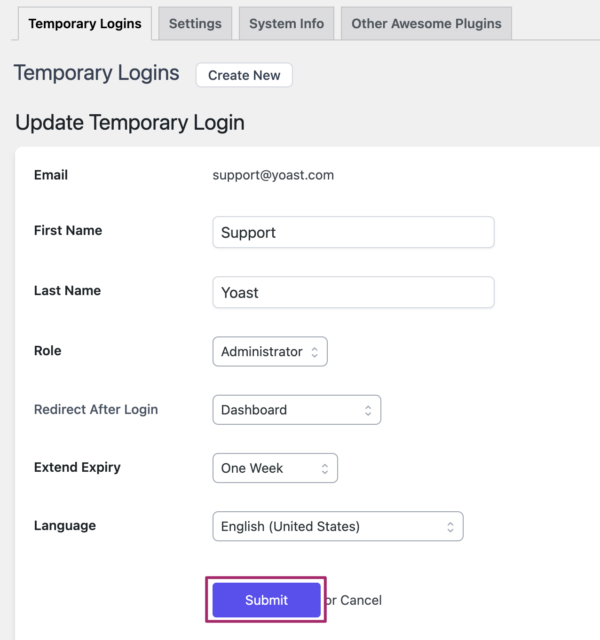
To create a temporary login link, follow the steps below.
- In your WordPress Dashboard, go to Plugins
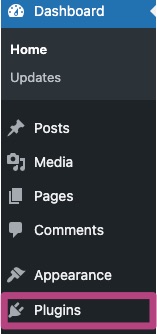
- Go to Add New Plugin and install the Temporary Login Without Password plugin
In the Add Plugins menu, search for temporary login without password. Once you’ve found the plugin as shown below, click on Install now.

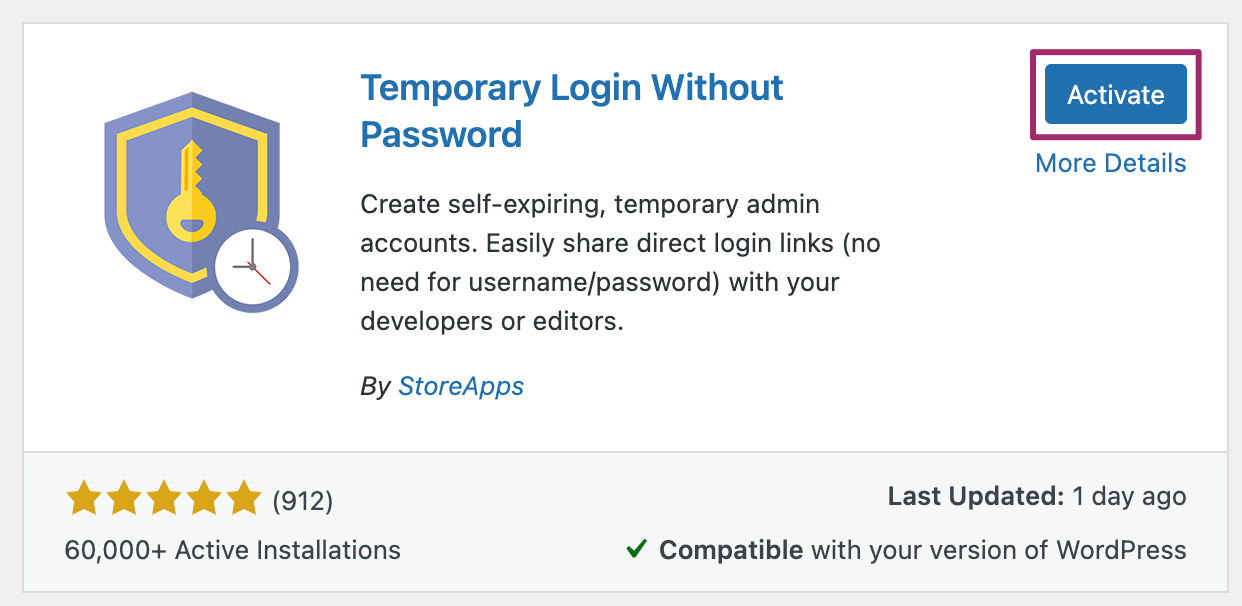
- Activate the plugin
After installing the Temporary Login Without Password Plugin, click Activate.
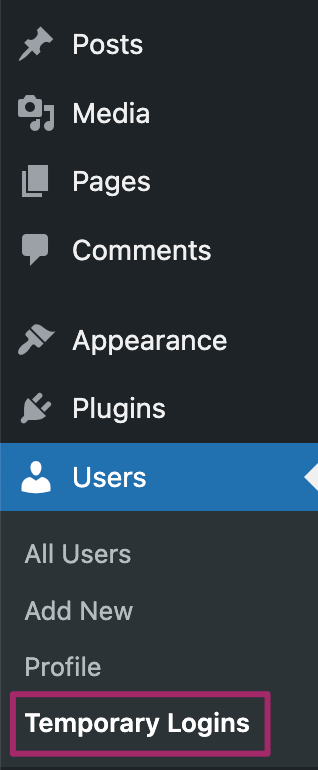
- Under Users, go to Temporary Logins
In your WordPress Dashboard, click on Temporary Logins under Users.
- Create a new temporary login
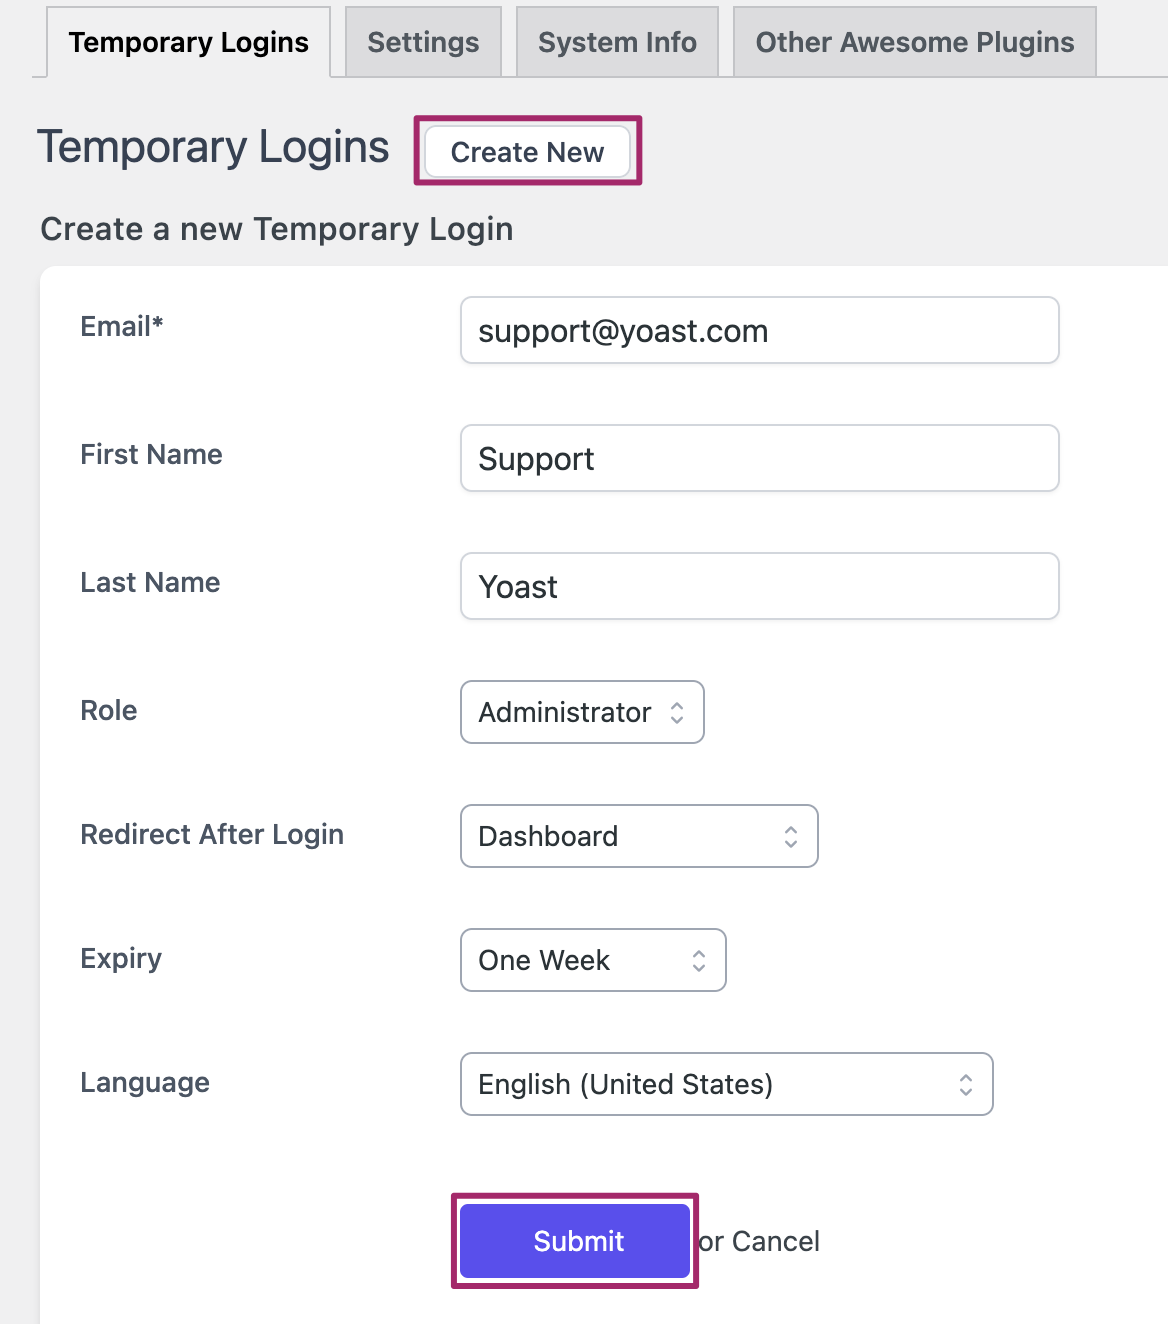
Click Create New. Fill in the form as below, using support@yoast.com for the email address. The default login is with the role of Administrator; expiry after one week; double-check that the language is set to English (United States). Click Submit to create the new account.
- Copy the temporary login link
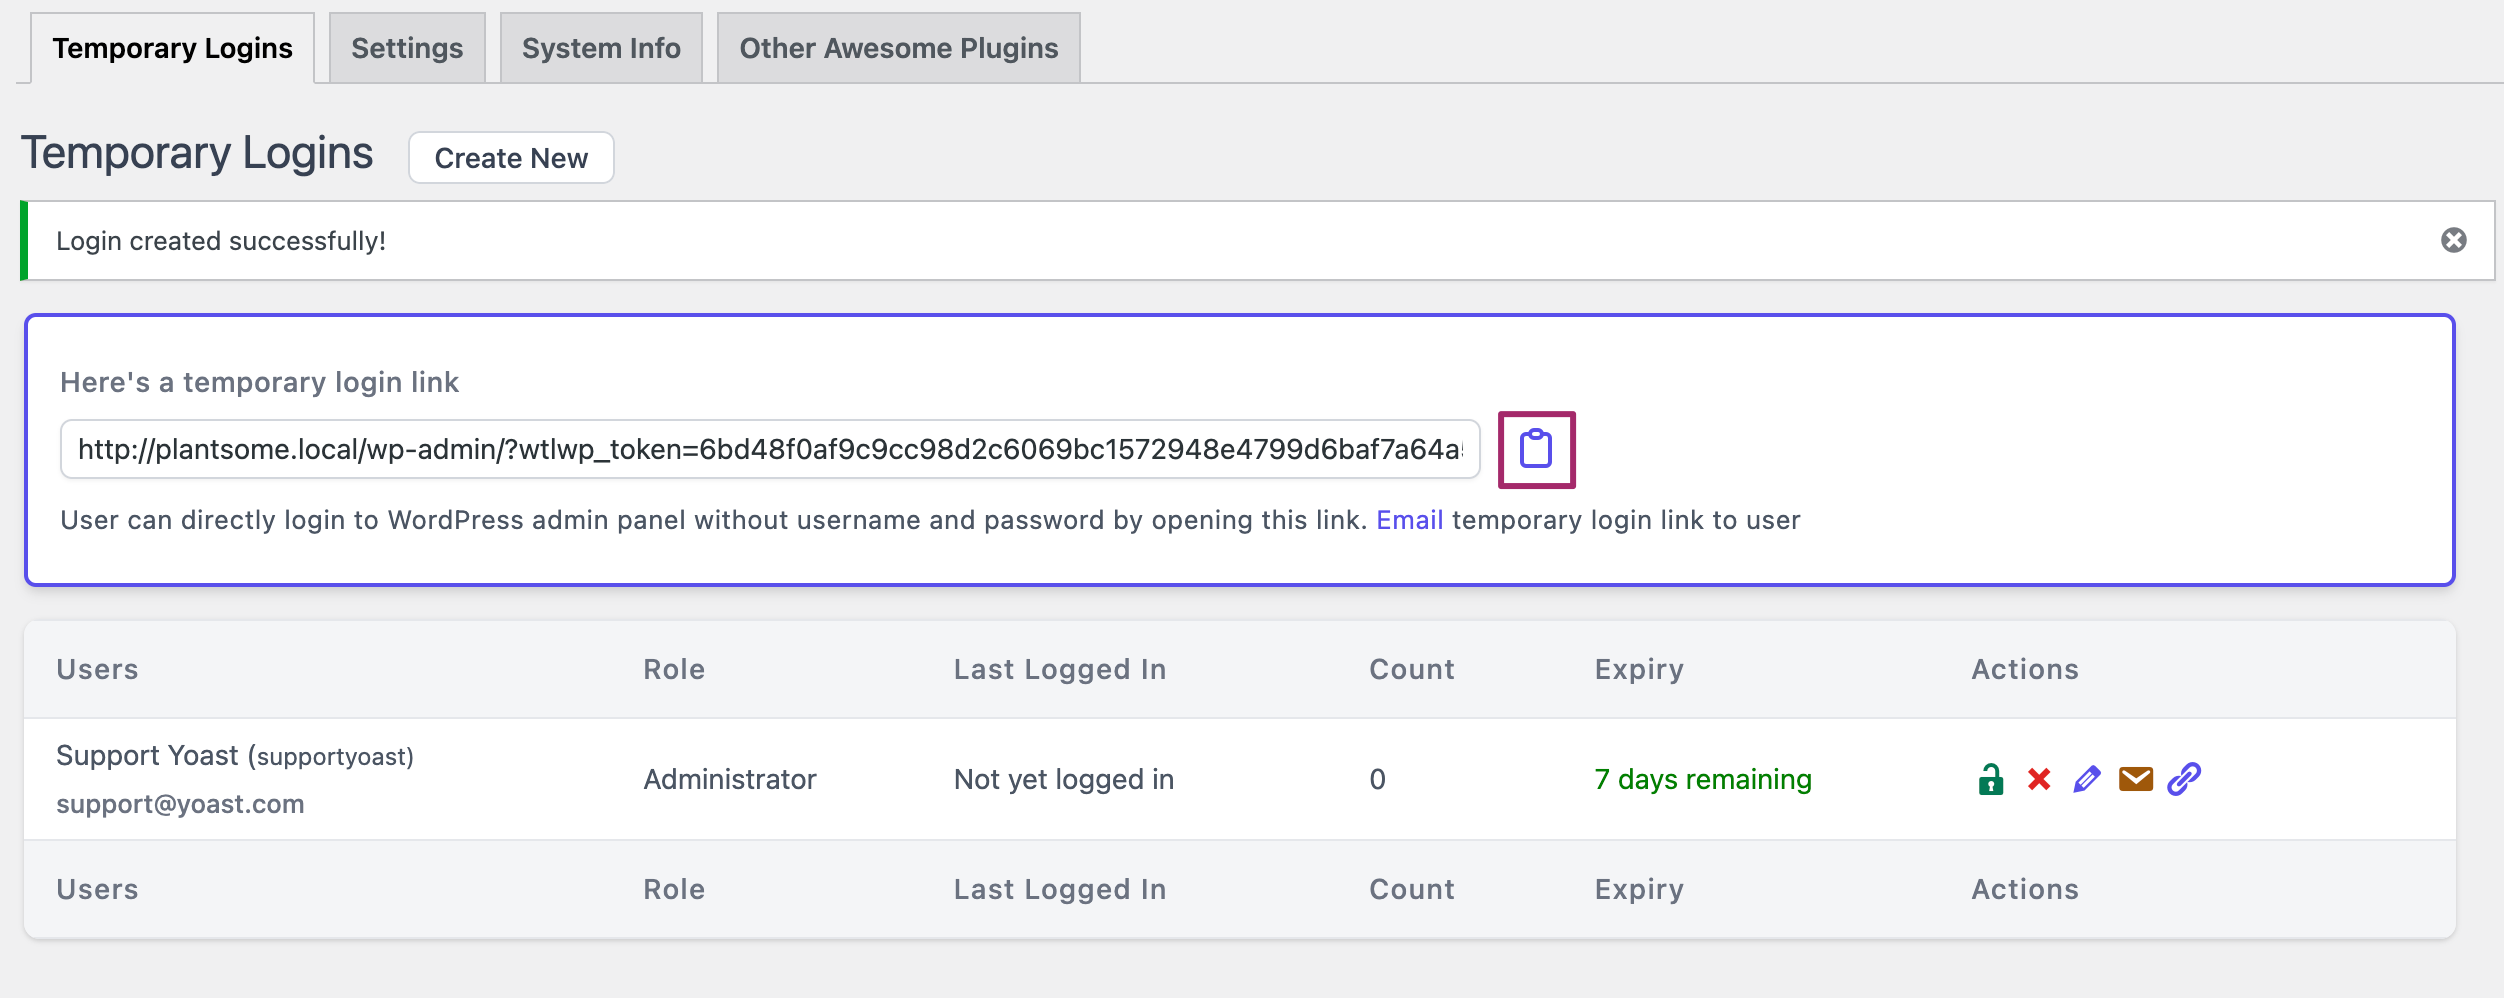
After submitting the form, you will see a temporary login link. Copy the link and share it with the Support team or anyone else who needs temporary access. After a week, the access and Administrator account will automatically be removed.
How to create a temporary login link
In this article, we’ll show you how to create a temporary login link, and how you can update it. We recommend the Temporary Login Without Password plugin: it creates a special link, allowing someone else to log in to your site for a short period of time. If the Yoast Support team needs to access your site, we prefer using this plugin over sending emails with usernames and passwords.
How to create a temporary login link
How to update the temporary login link
In some cases, you may need to change the user language or extend the expiration of a temporary login link. Follow the instructions below to update the temporary login link.
- Log in to your WordPress website
When you’re logged in, you will be in your Dashboard. - Under Users, go to Temporary Logins

- Click on the pencil icon under Actions

- Make changes and click Submit
You can change the name, role, or language for the temporary user. For Extend Expire, you can adjust the period. The default is one week.
